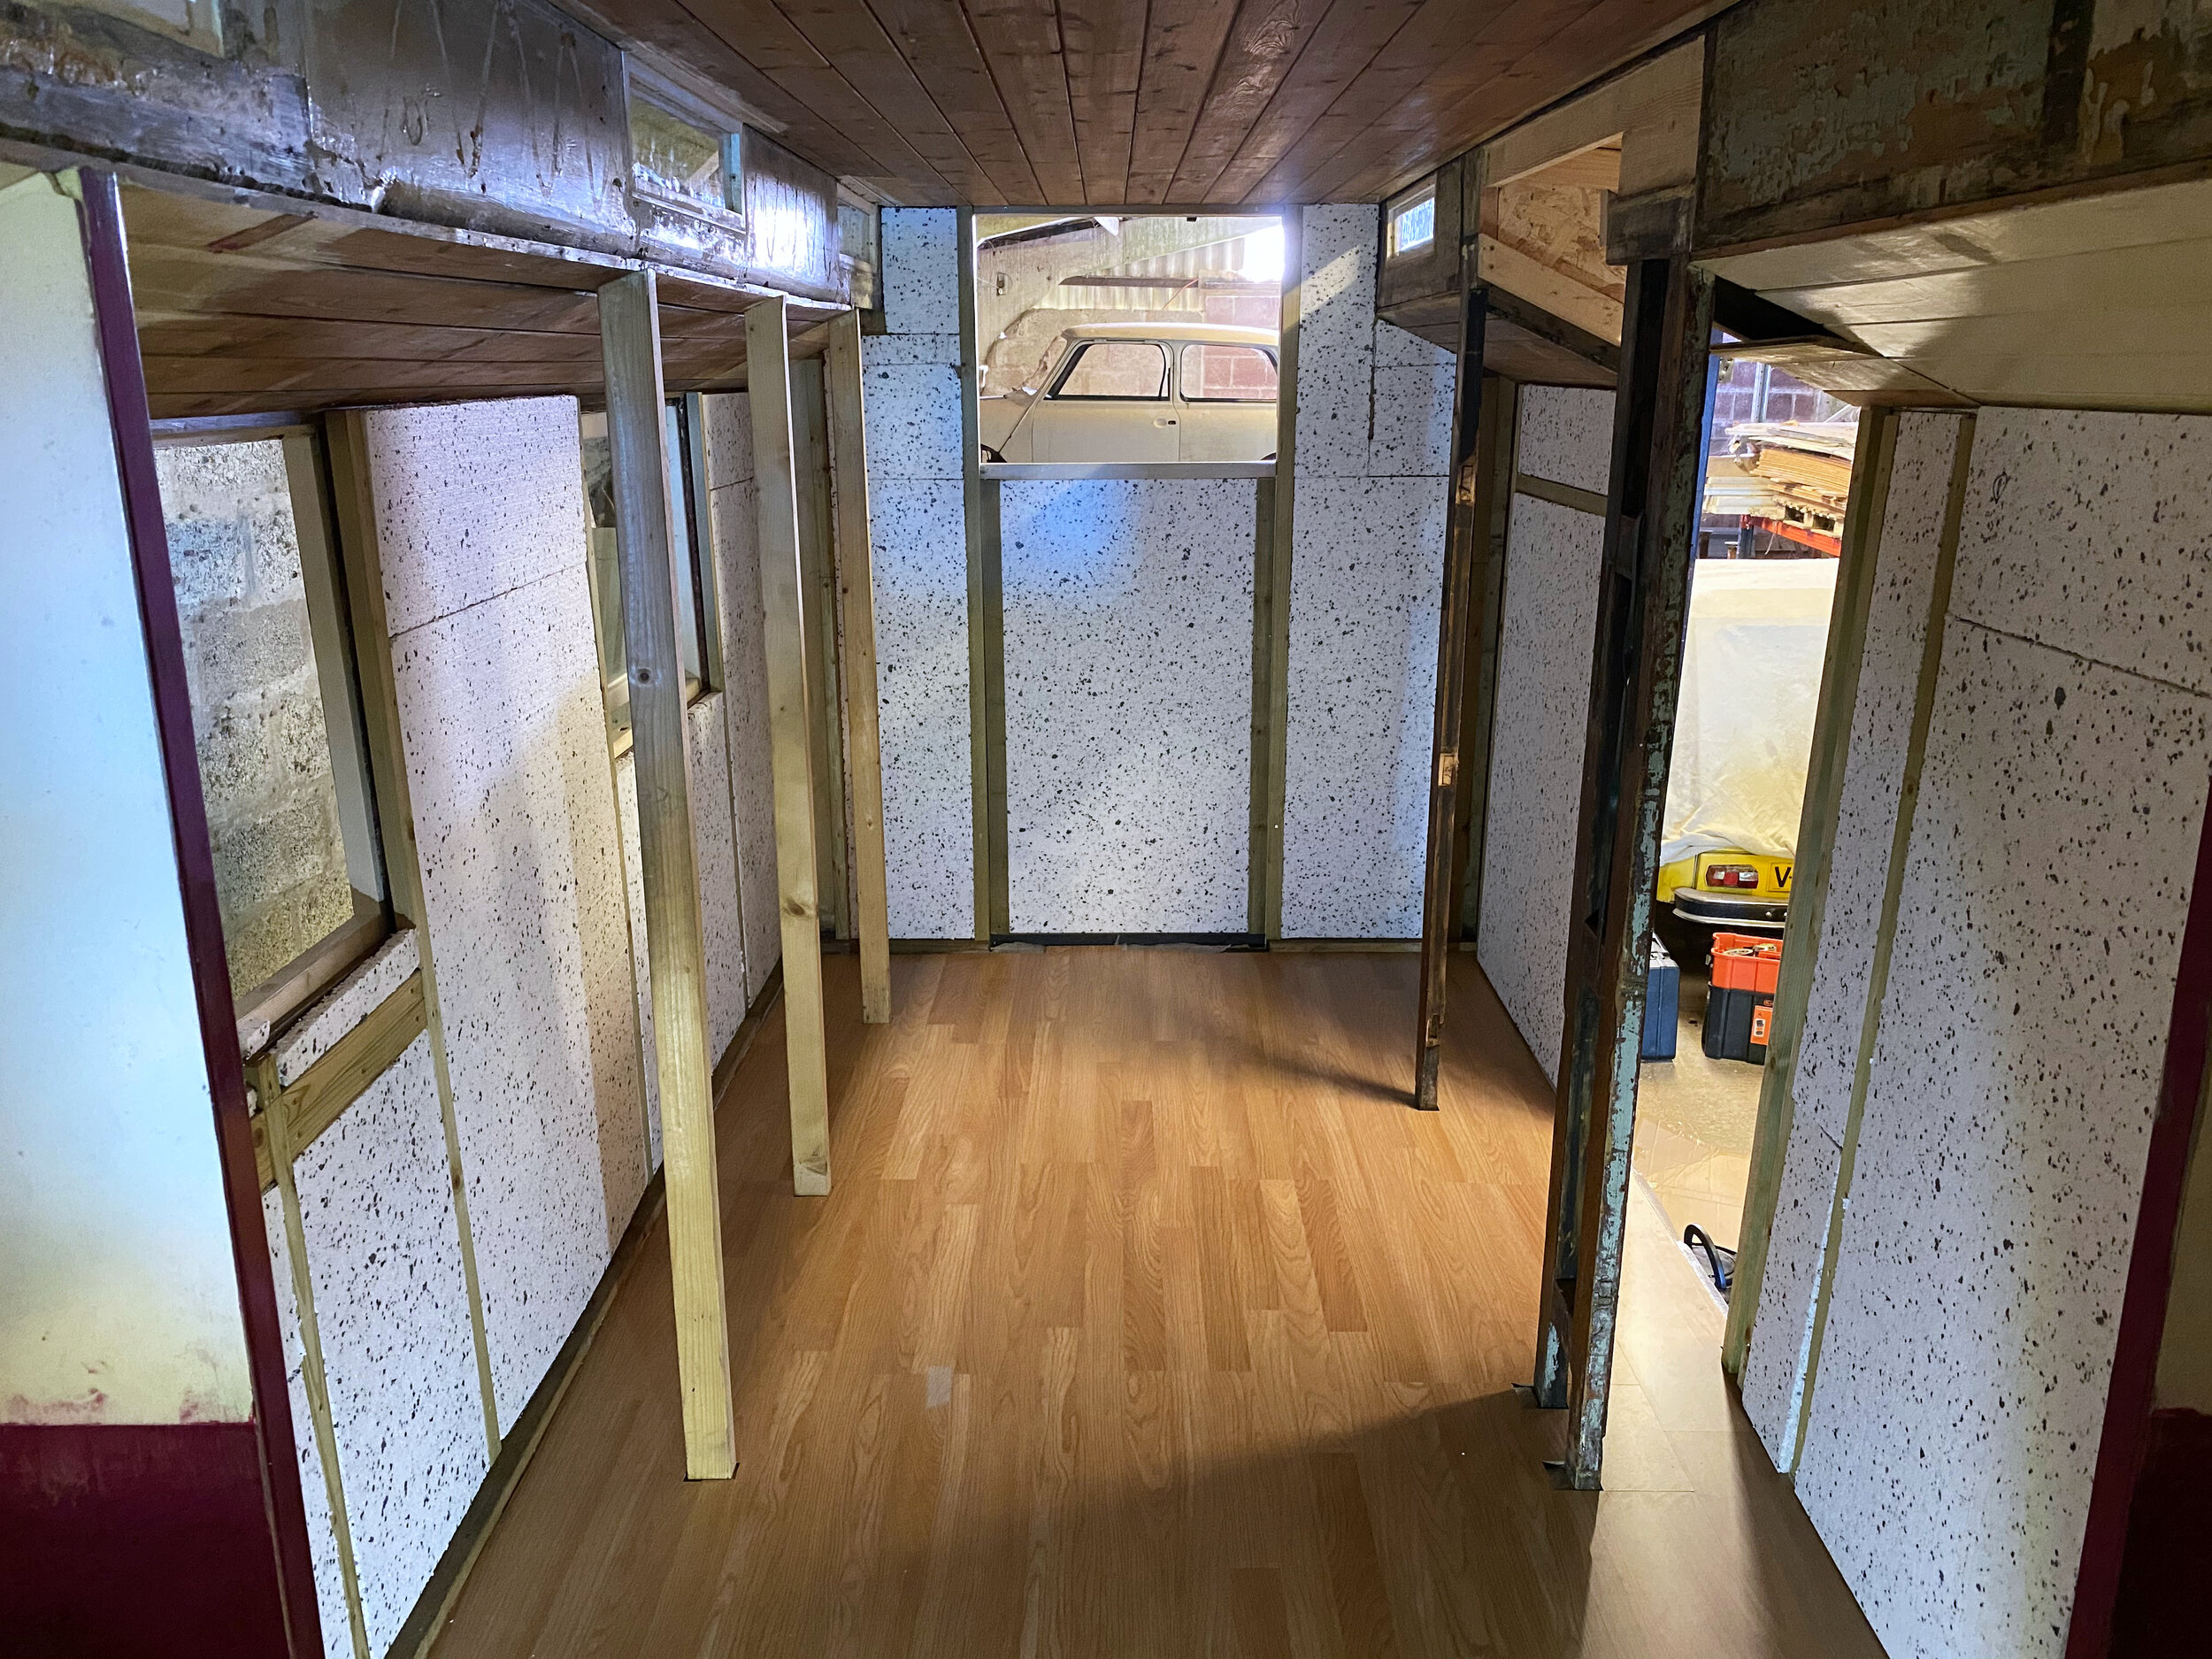
9. Internal walls
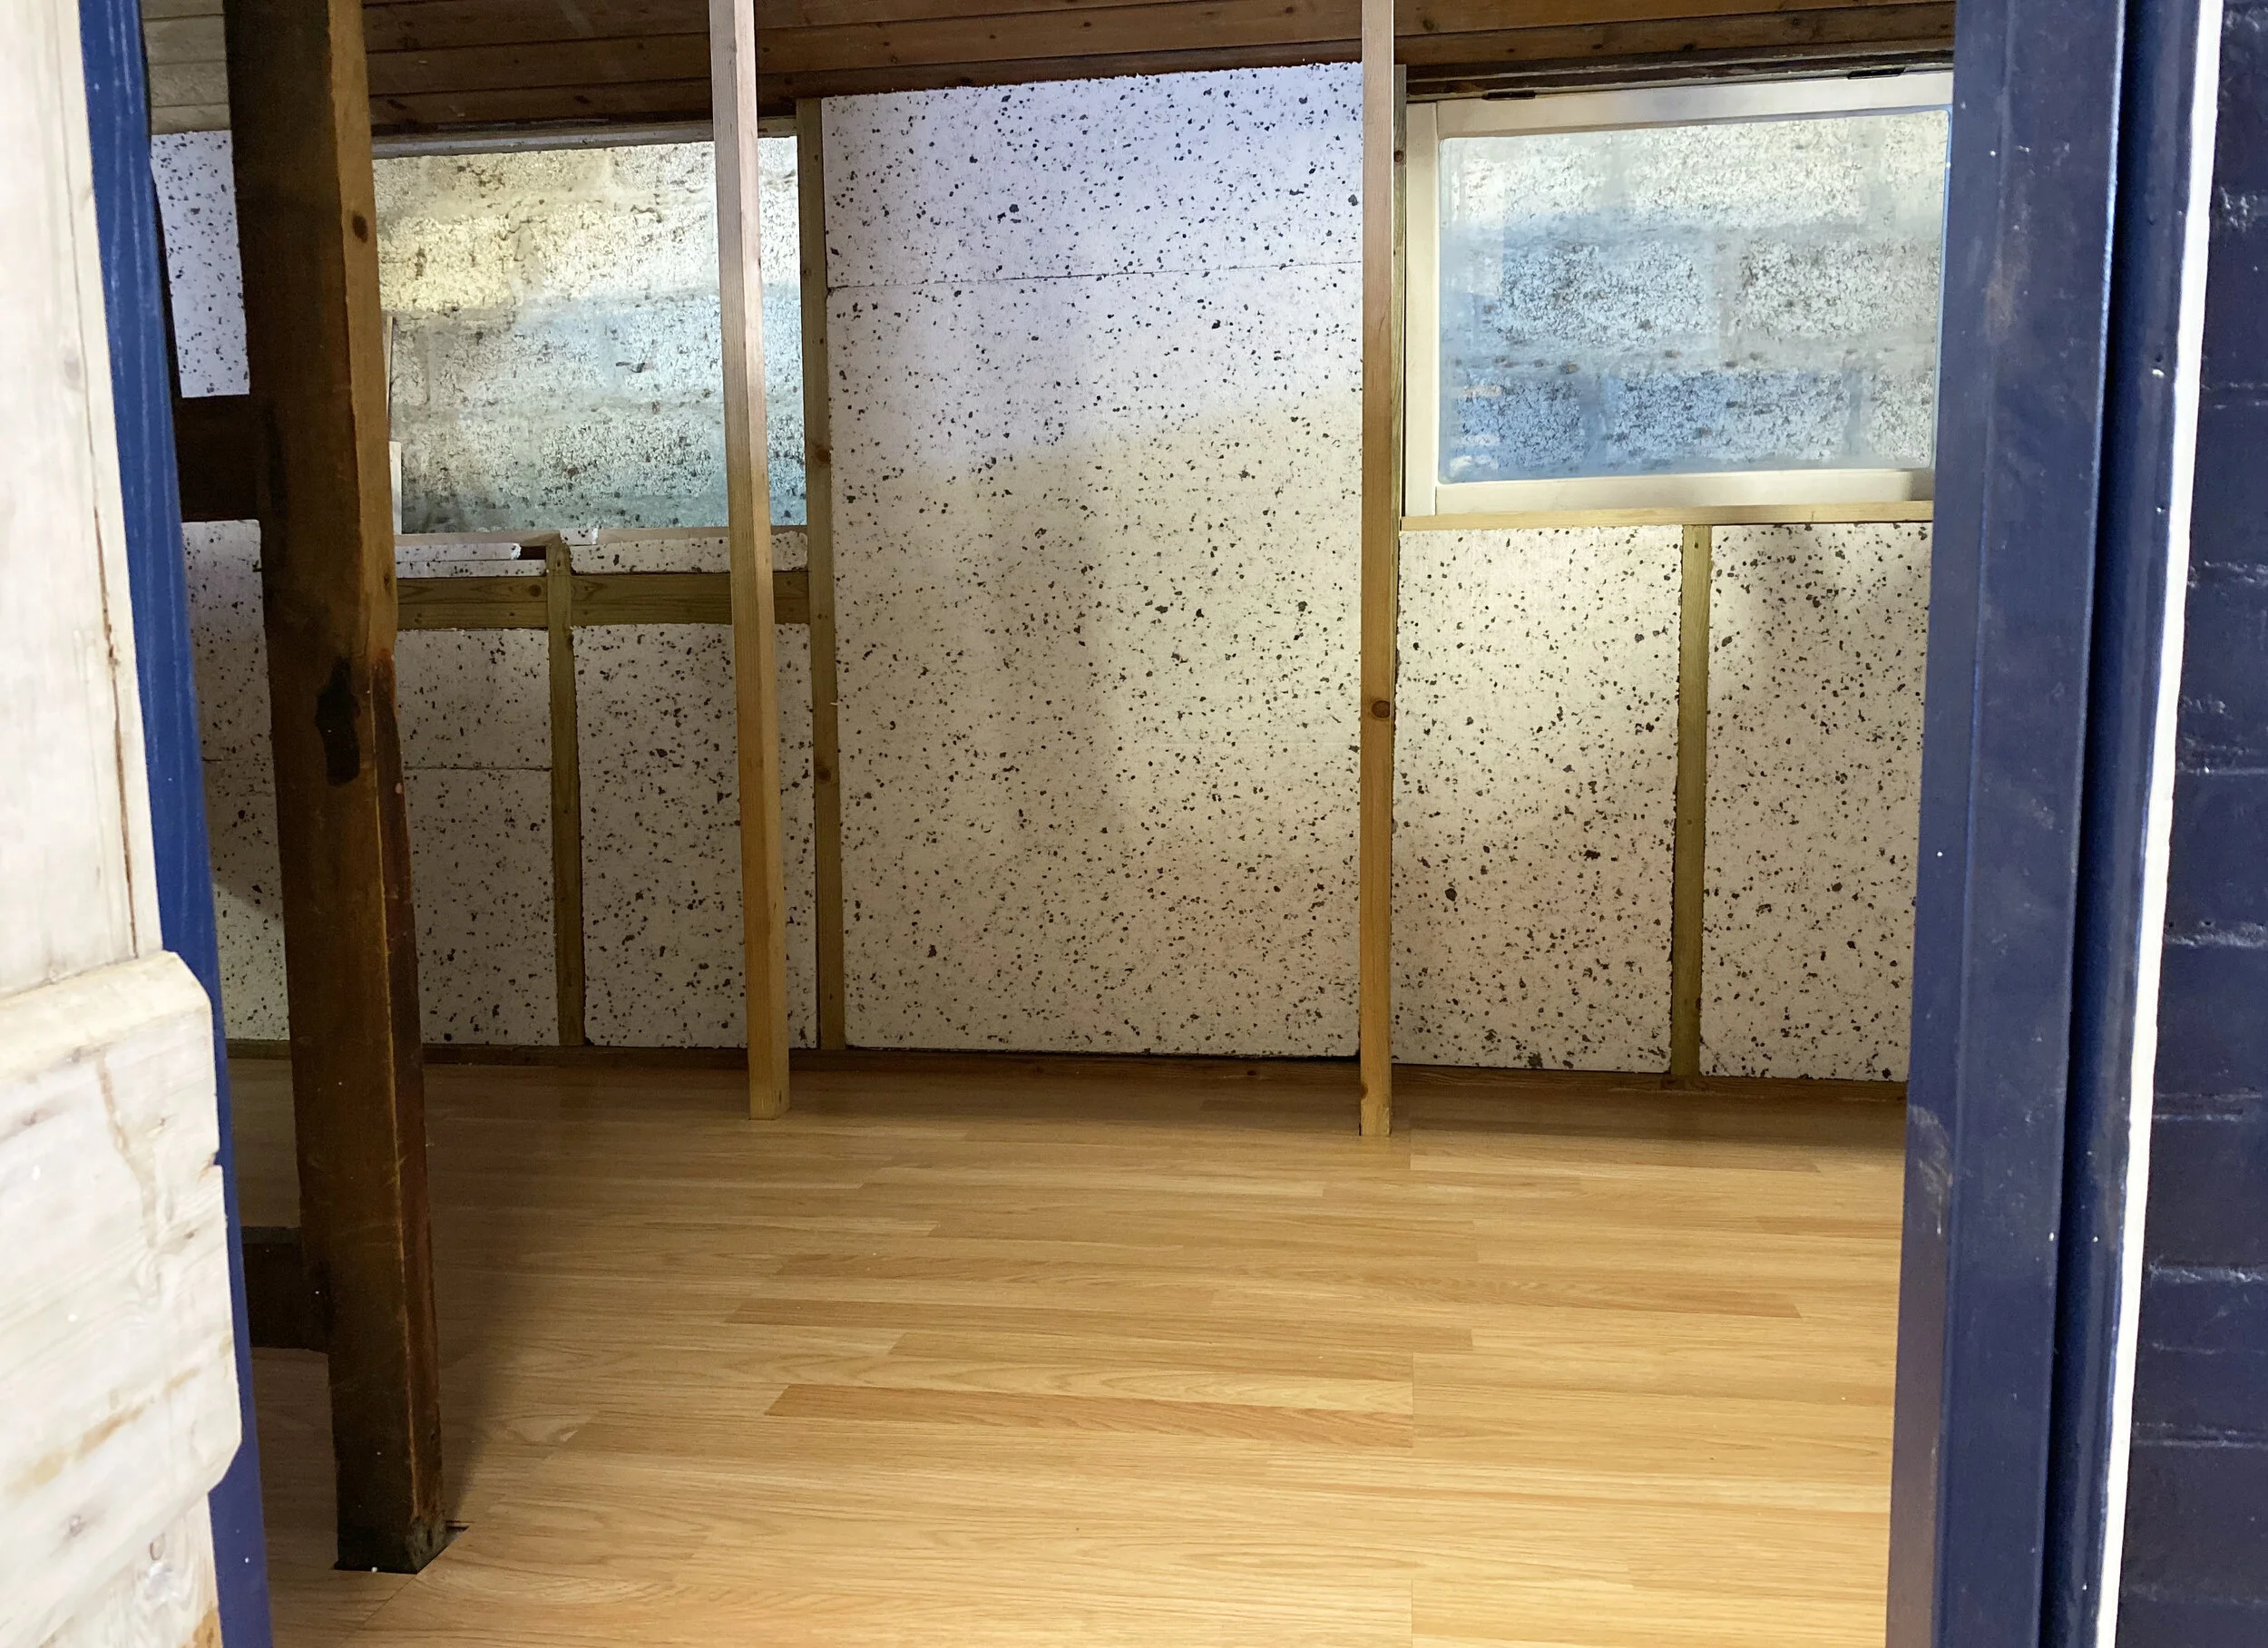
This step was very easy but pretty time consuming (thank you dad who pretty much measured, cut and fitted all of the insulation!) basically I have a plan of where everything is going to go in the wagon eg kitchen framing/ table/ bed and from there I know where things will need to be attached to the walls. It’s very useful to know this at this stage so you can place your wooden baton accordingly, these are then screwed in and the gap between them is filled with insulation (I have opted for a 25mm celetex). The insulation is secured into place with spray adhesive. Then we are ready to add the wooden cladding.
Insulation
After screwing in 25mm wooden battening to the internal walls I have chosen to use polystyrene insulation board as my insulation for this wagon. This will be attached in-between the baton and secured in place with contact adhesive before being sandwiched behind the final wooden cladding.


My mum and dad where such a huge help during this whole build. Mum learnt how to use a miter saw, cutting all the baton to size and this clip shows that dad was the master of insulation board!
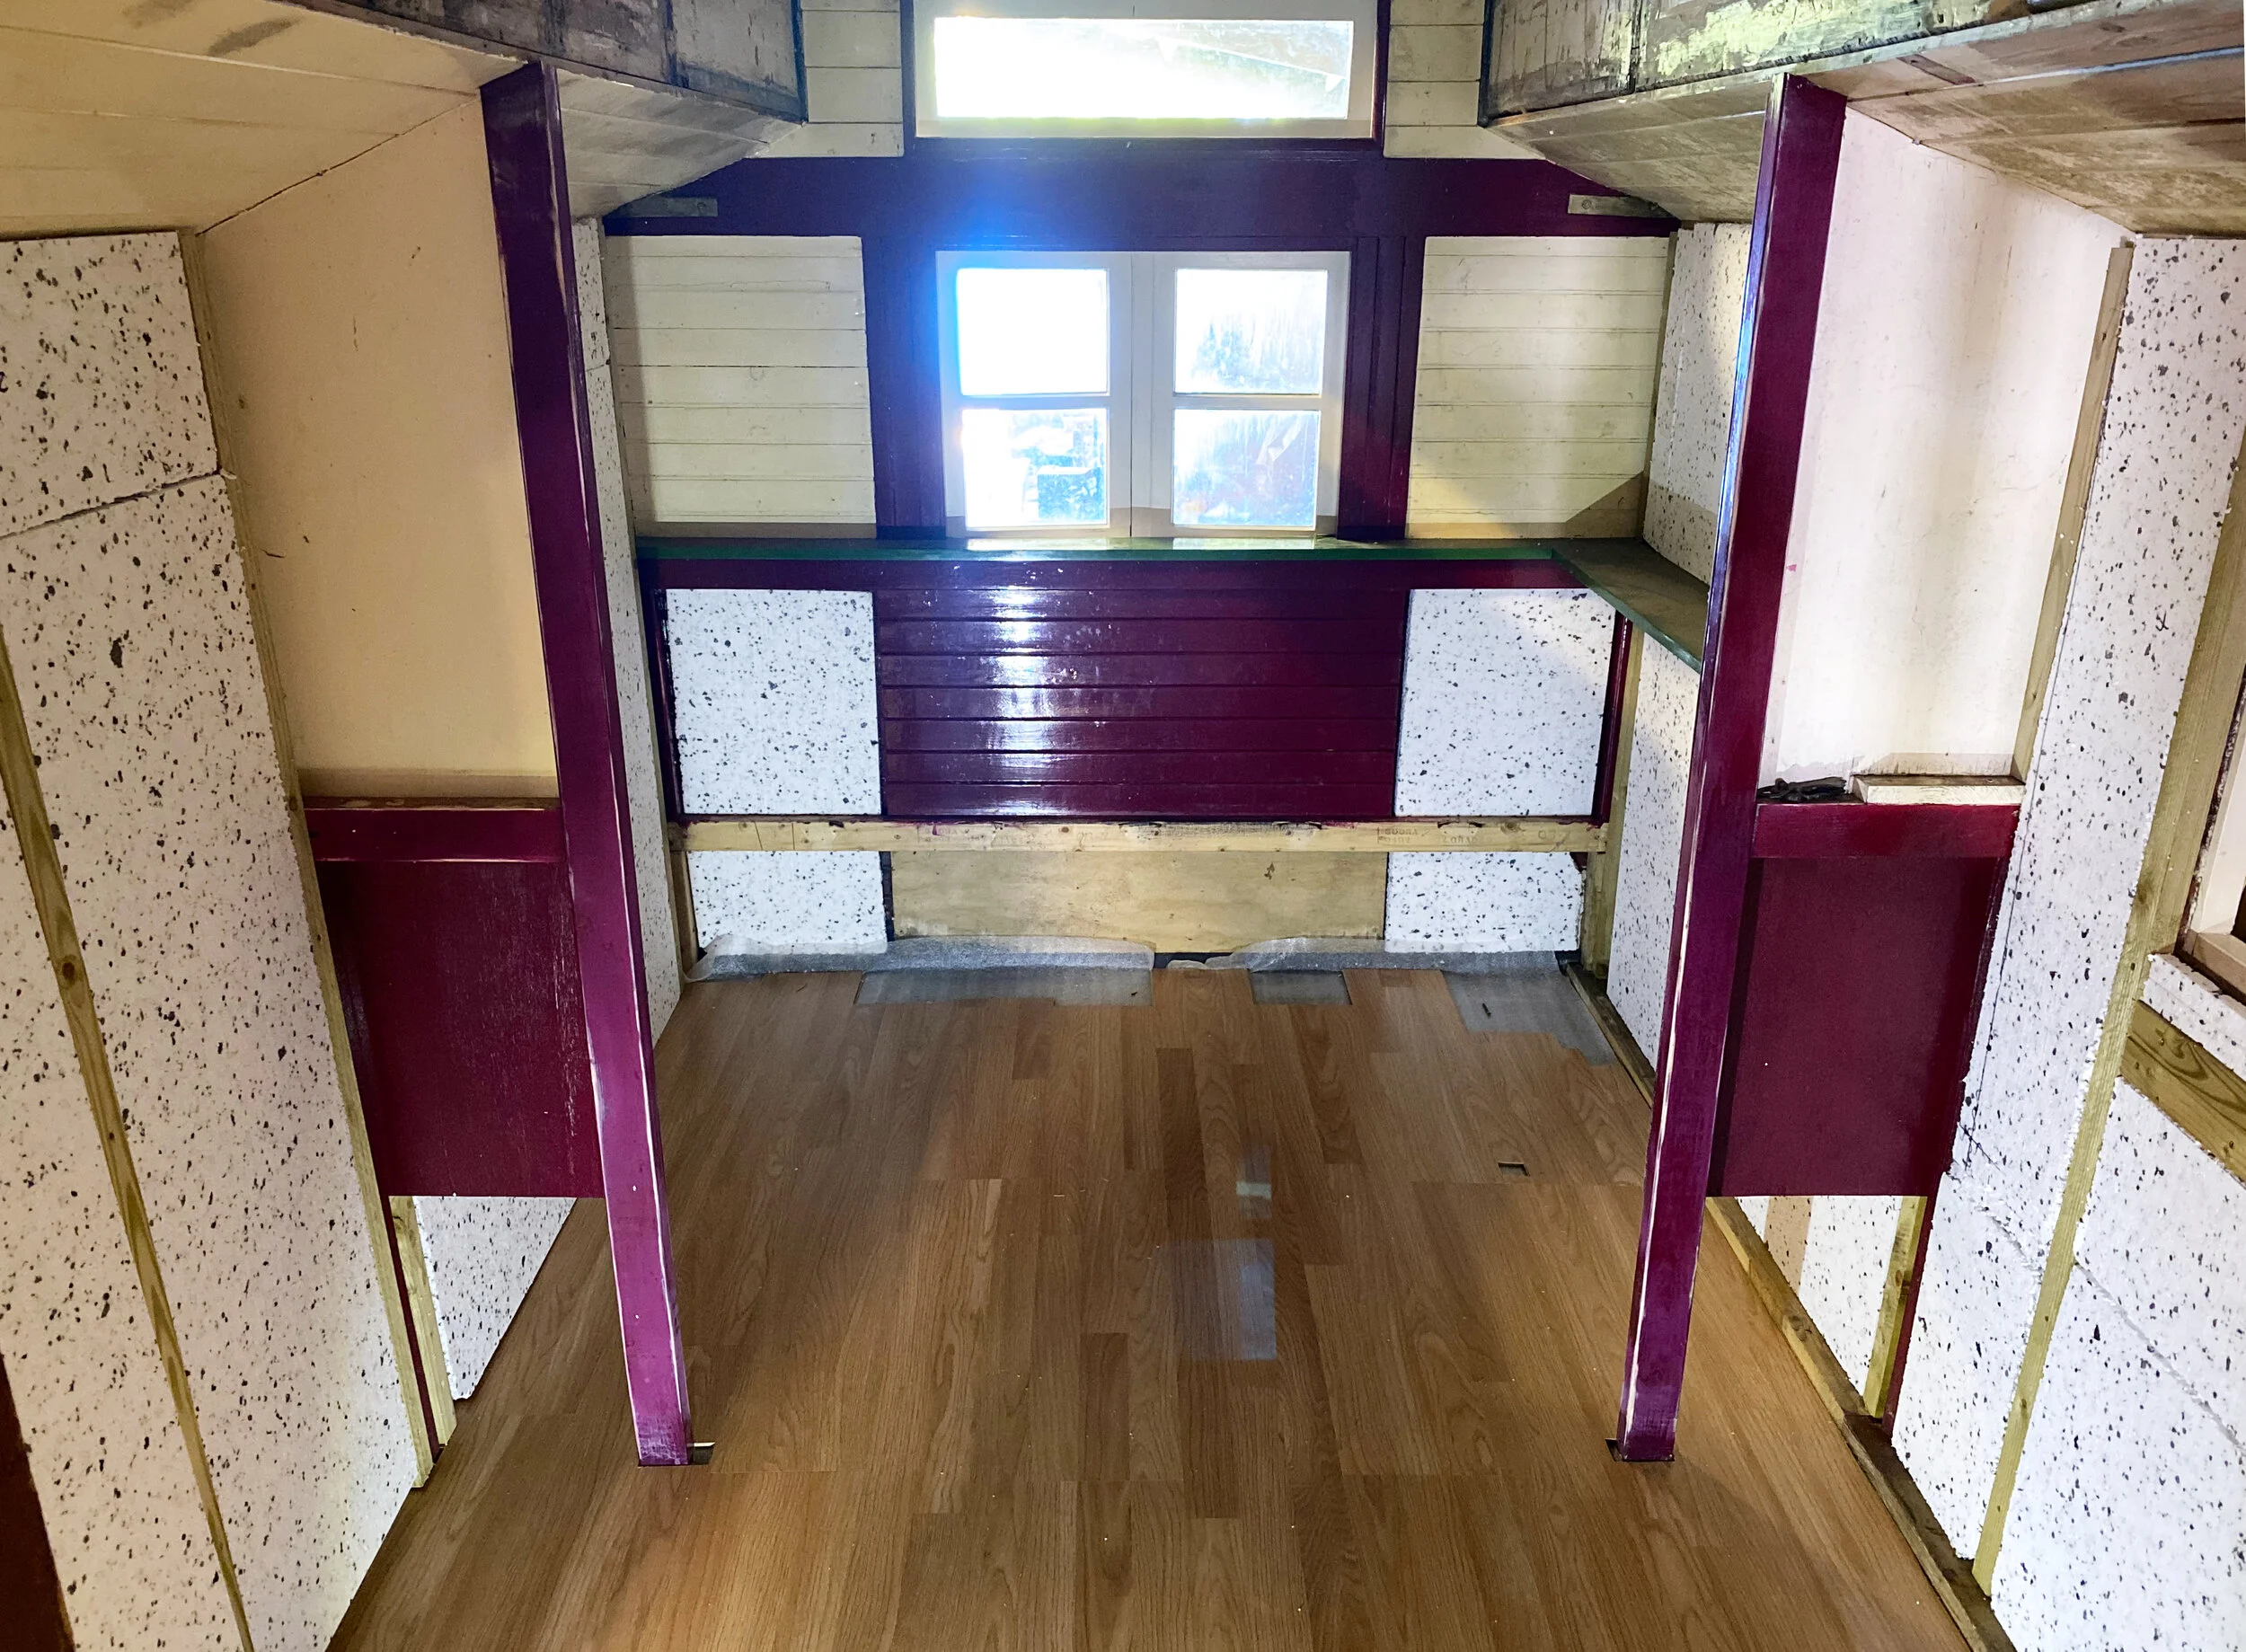
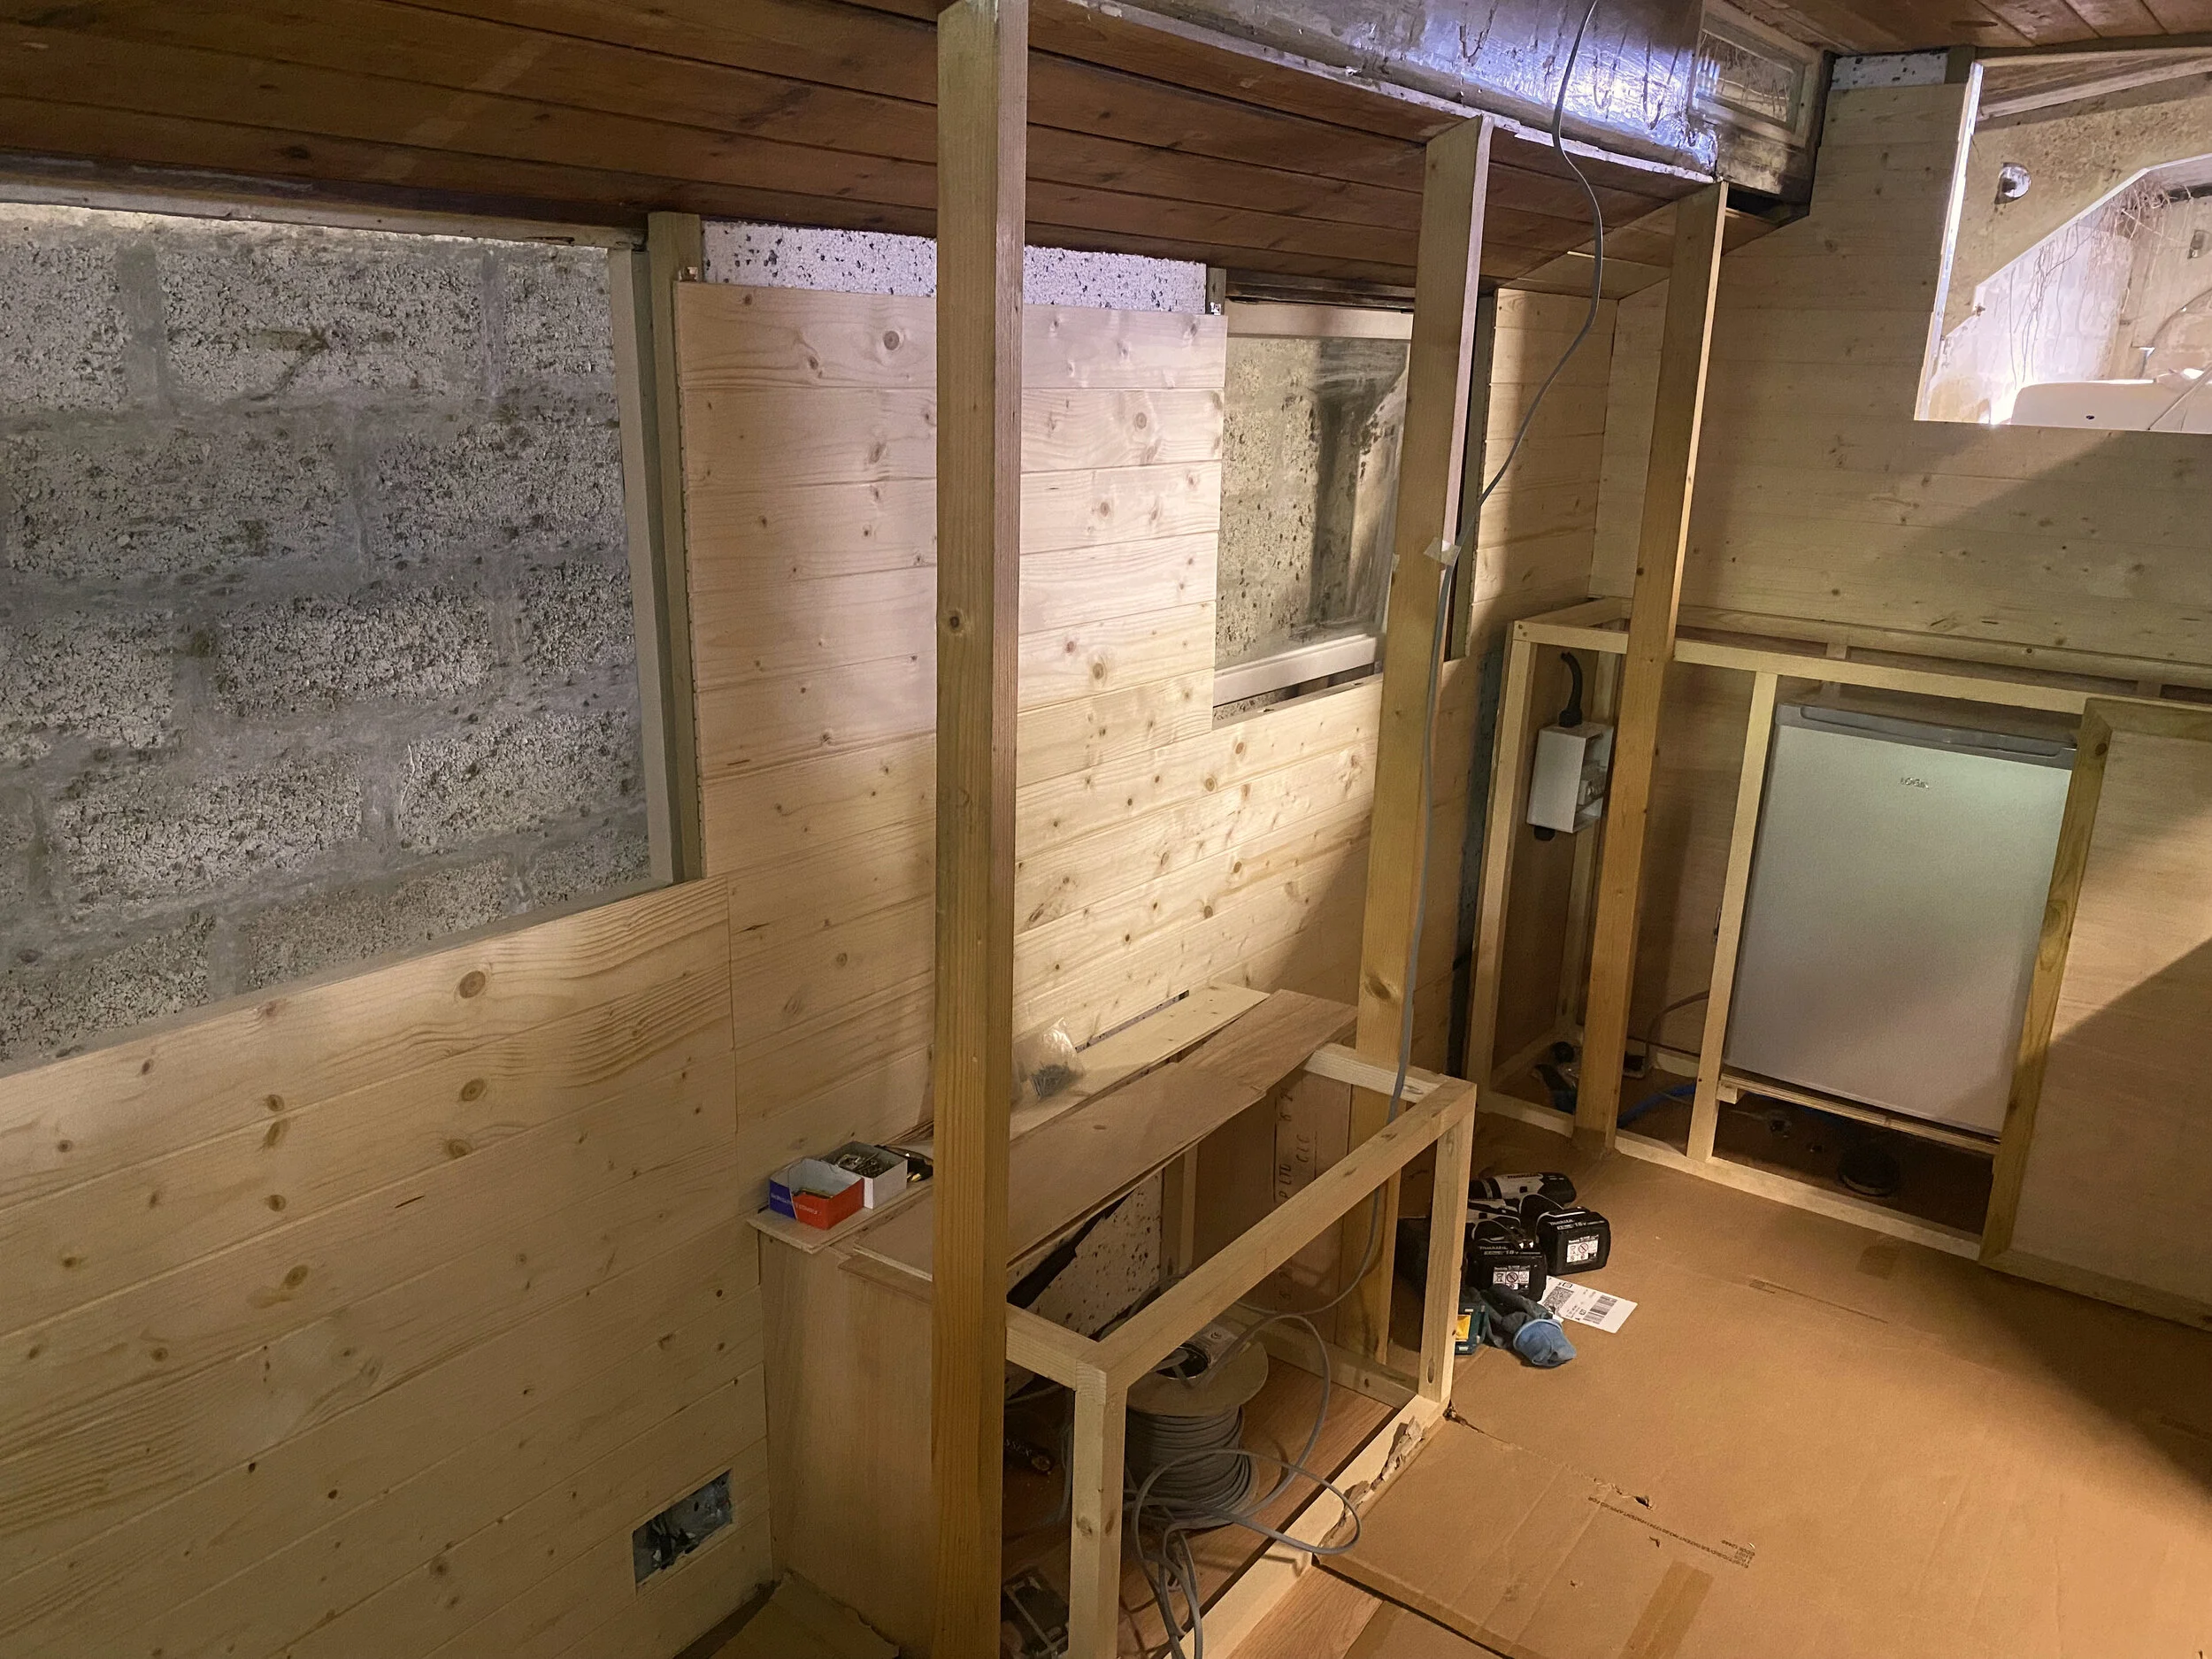
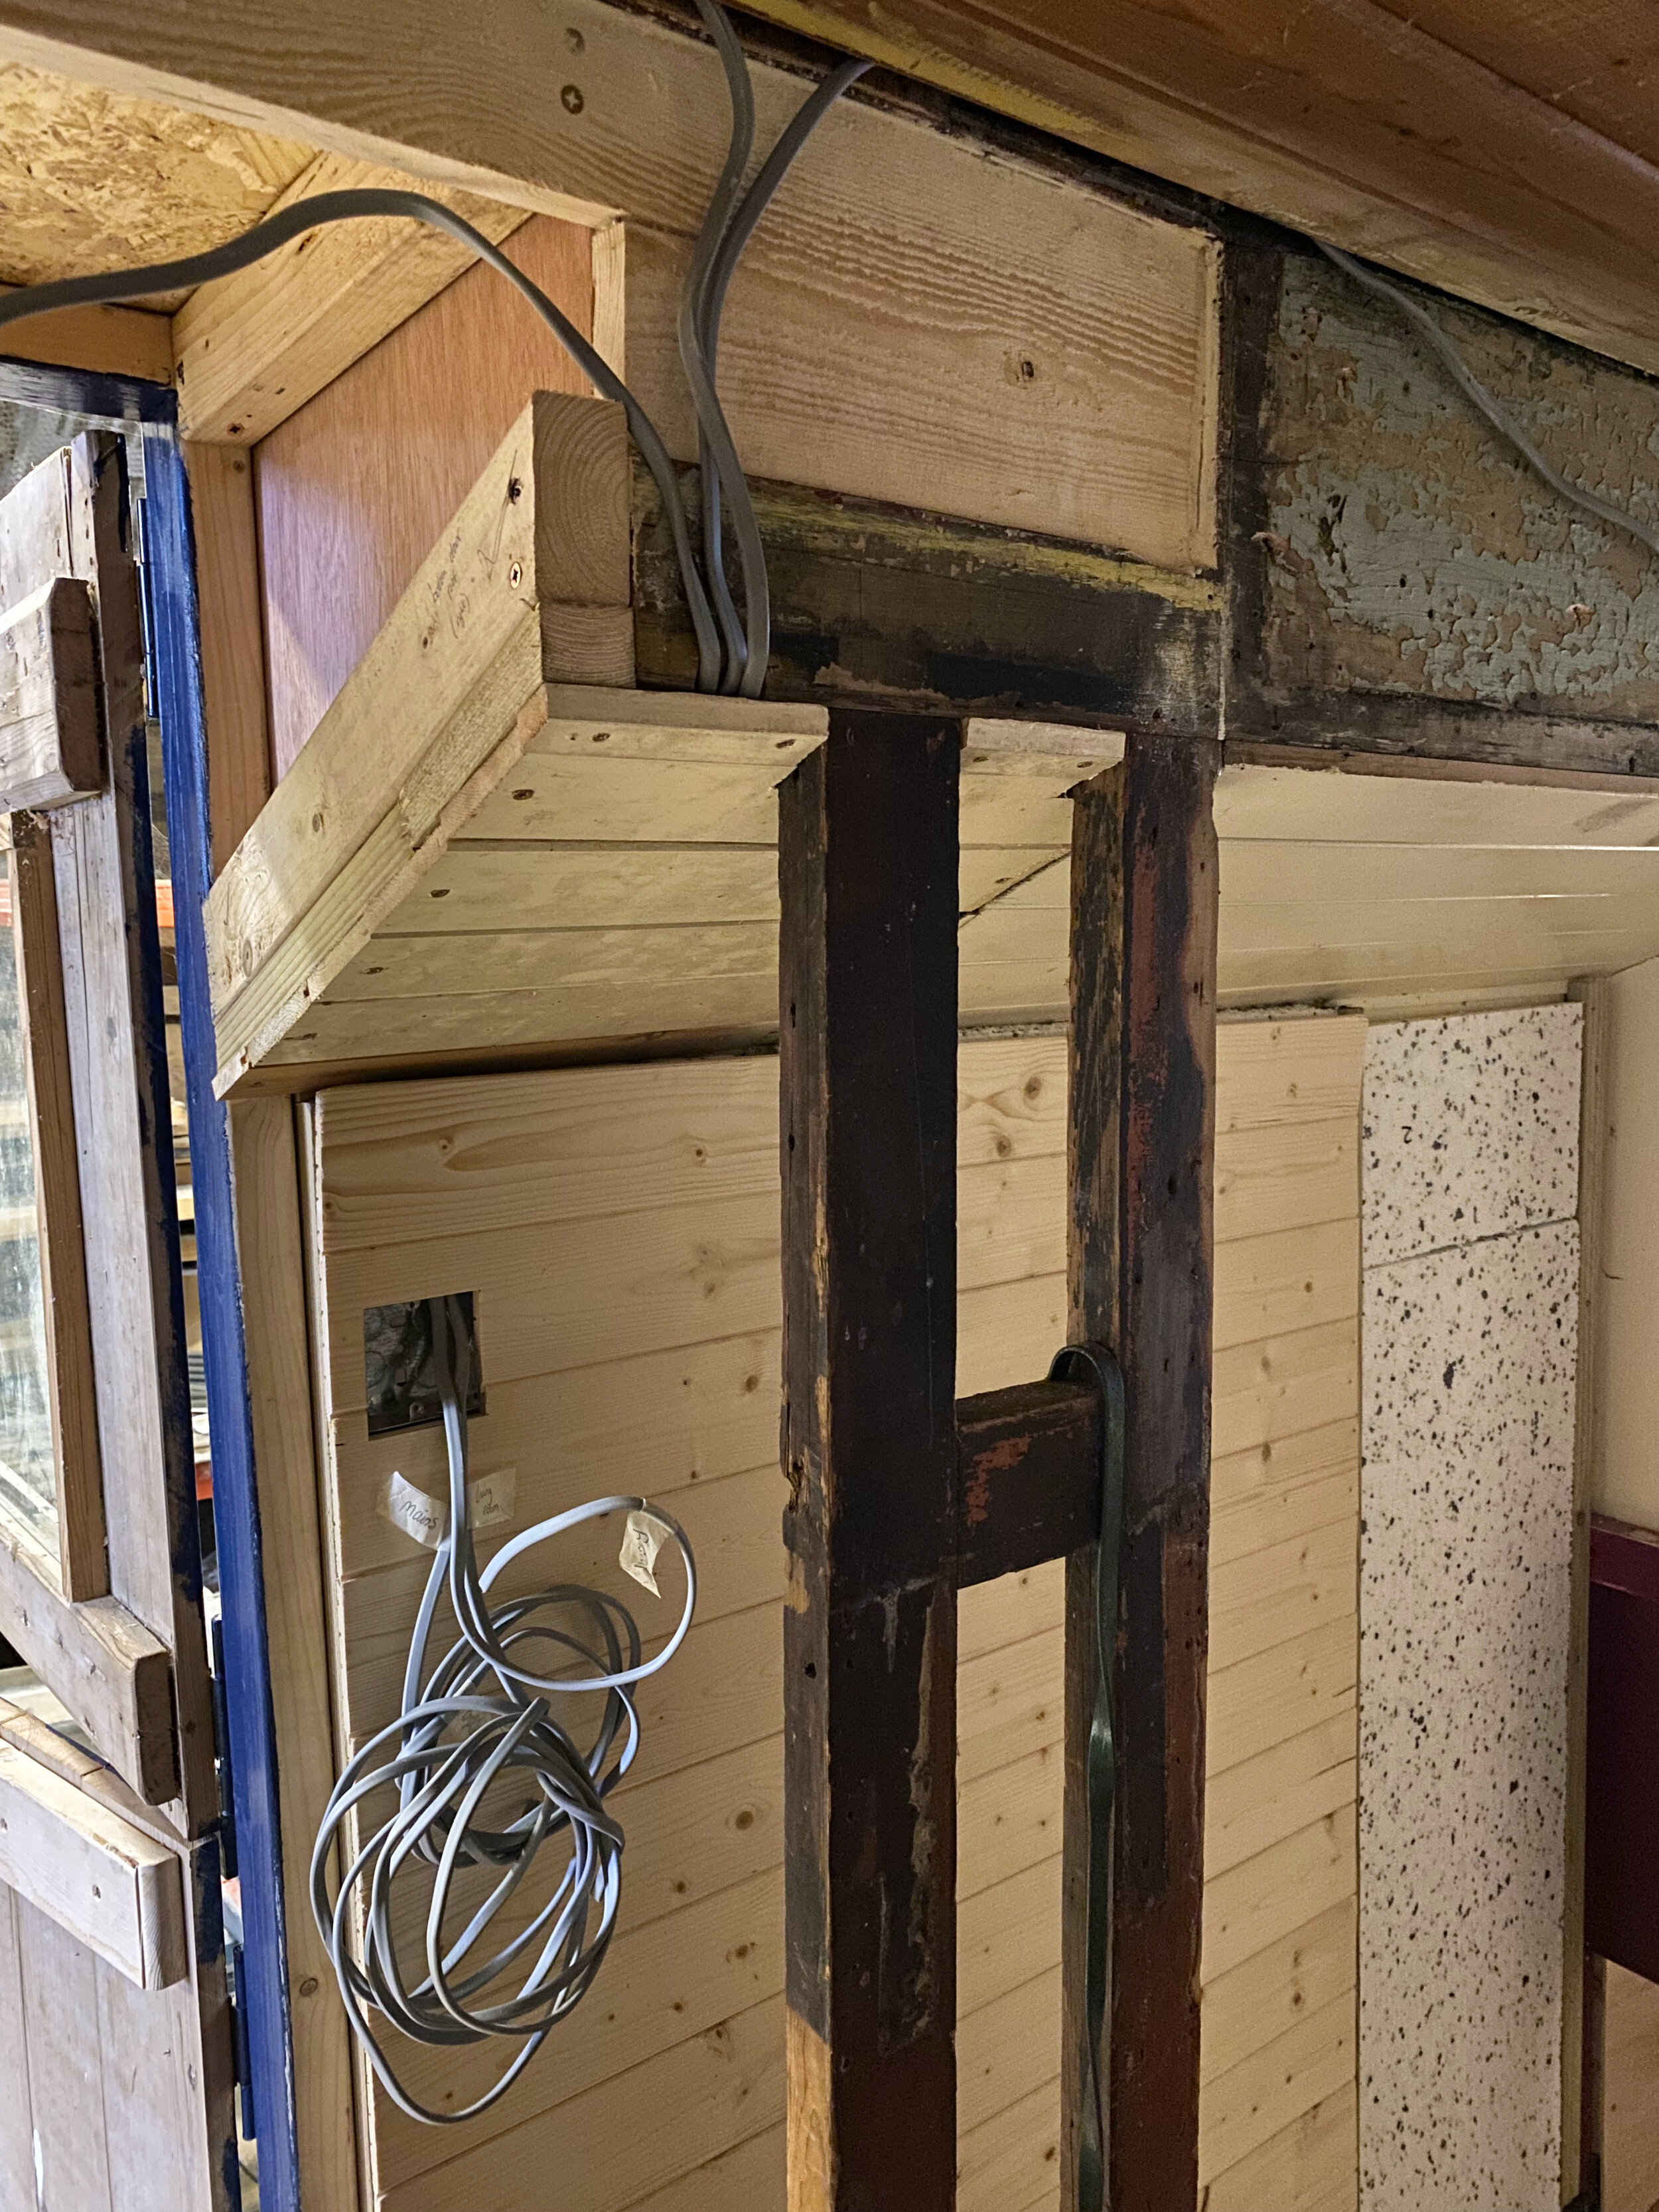
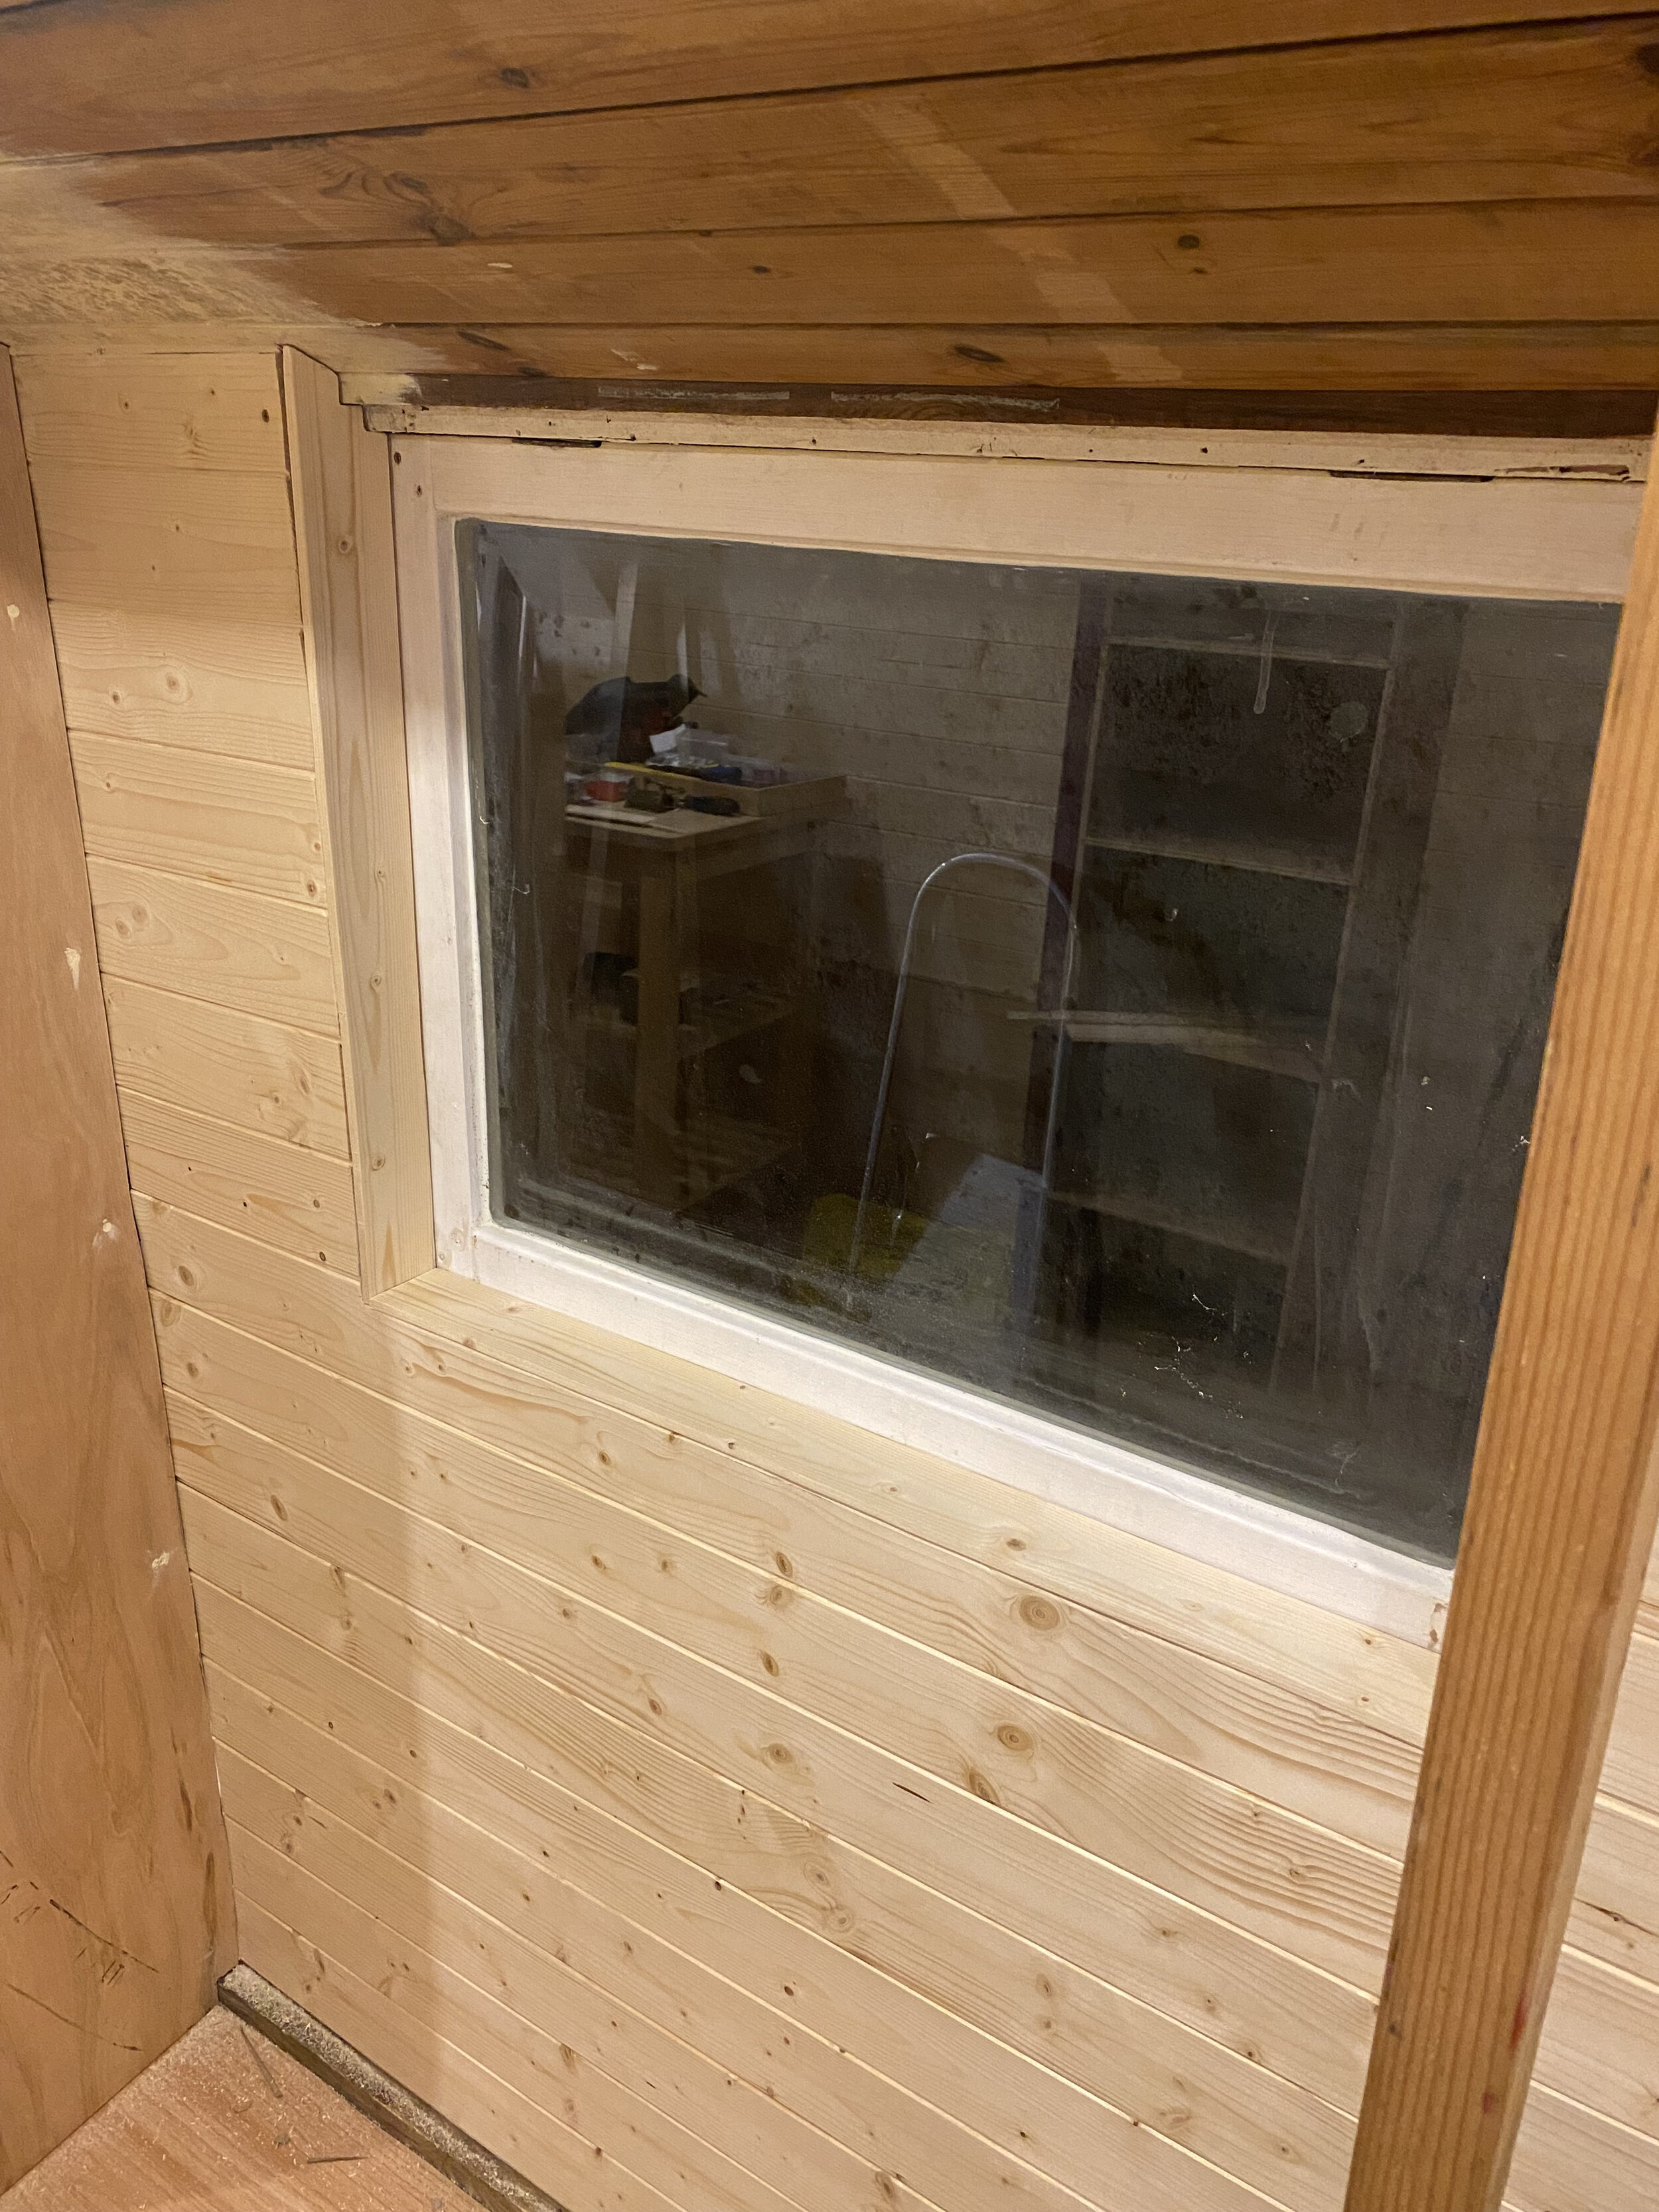
Cladding time
Once the walls were insulated and the electric cabling was run though the walls/ sockets fitted (see electrics section) I clad the walls with pine tongue and groove, this was a little faffy because nothing in this beautiful old space is straight but i’m pleased with the final finish!