6. Fixing the external walls
The next bit of the build is a big one, on the far side of the wagon all the window frames and uprights have rotten bits. I think this is due to weather damage as there was also a lot of moss and dirt sitting around. So I had to remove the sections of bad wood and then replicate them.
This involved ripping down wood on the tape saw and then using a router to chamfer the edges to shape the new wood into the same profile as the original pieces. For the window frame pieces I had to chisel out the joints so I as to attach them all together in the same way as the original pieces (this took ages as I didn’t want to mess it up and have to remake them again!) Then I notched out sections of the new upright pieces to be able to attach into the existing uprights. I used wood glue and screws to hold everything in place.
This step took alot of patience and trial and error with little tweaks here and there and It looks completely mad and patchy but I wood filled any slight discrepancy’s in the joins and when its all painted hopefully you won’t even know where old meets new!

Replacing uprights
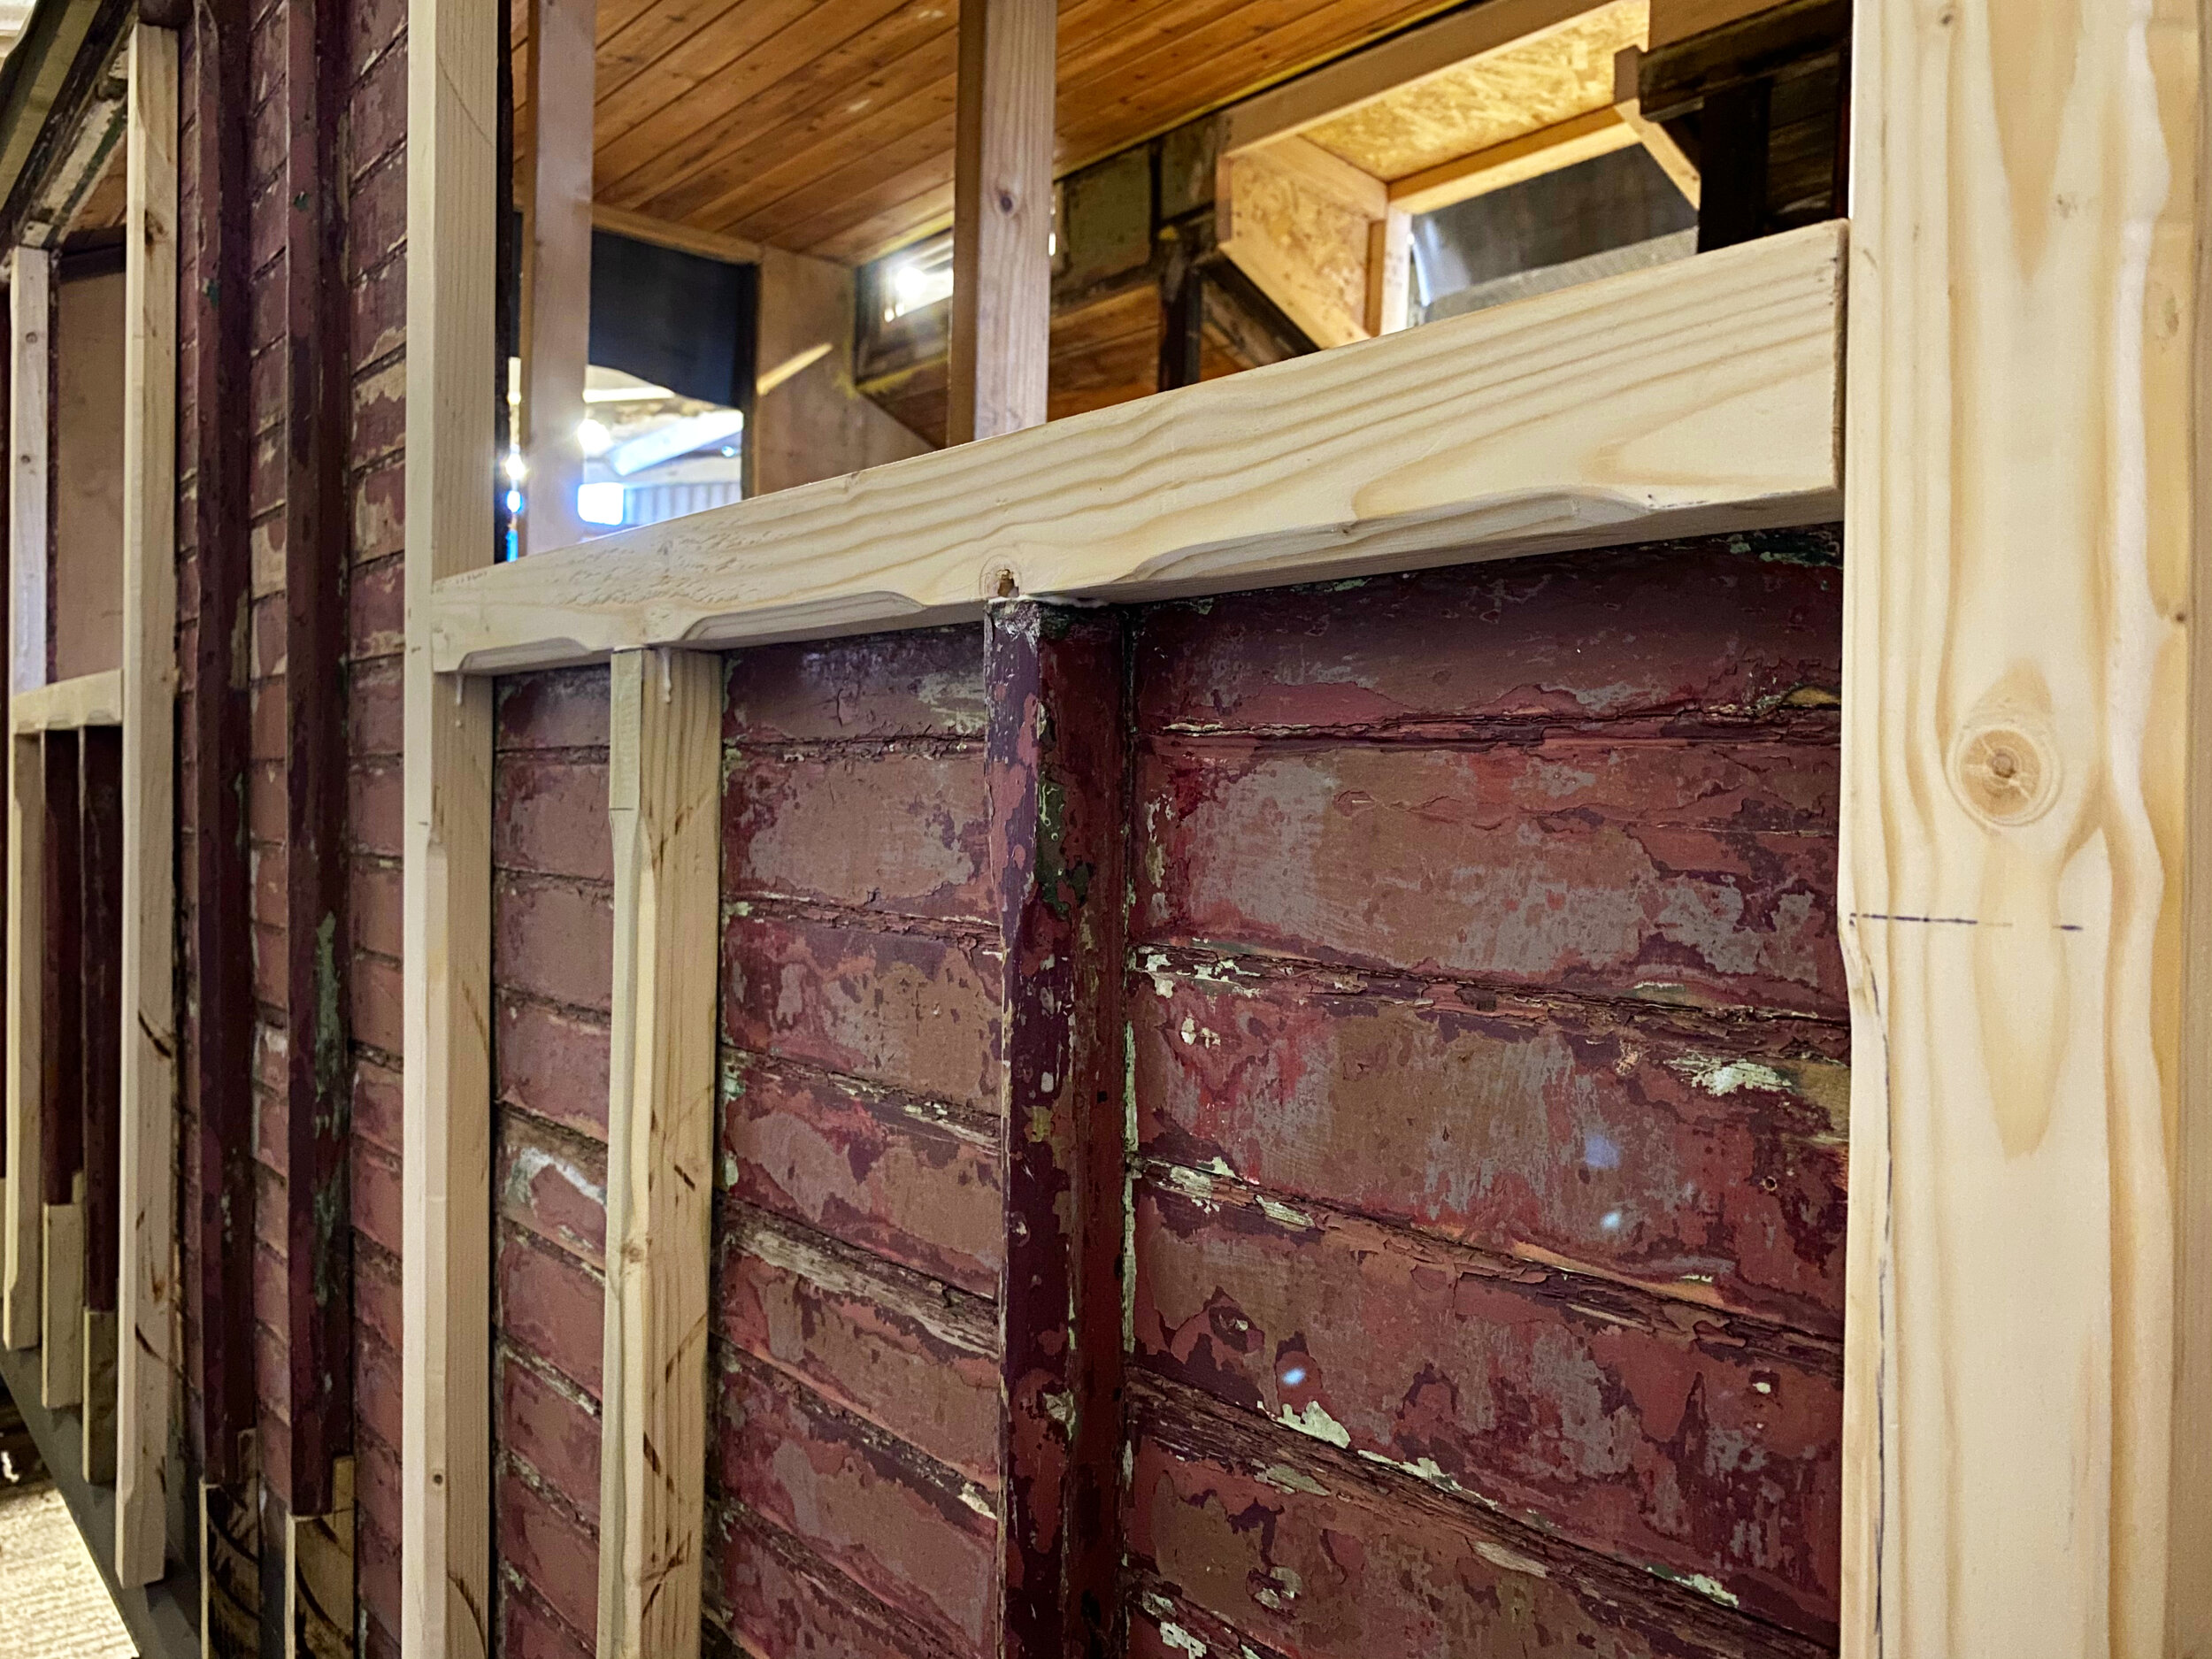
This clip shows how i went about replacing the rotten sections of the external walls.
I removed the rotten section, then cleaned up the area (removing any old paint) then created the new sections with chamfered edges to match the original pieces, cut in notches to both the new and old sections, then slotted in the new pieces and securing with wood glue and screws from inside the wagon.