3. The roof
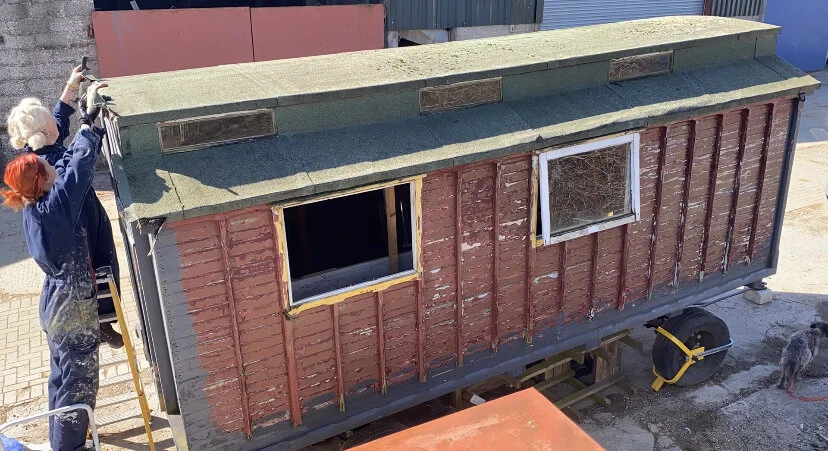
So there’s clearly been some issues with the roof over the years, the most recent was where a log burner has been removed and the flue hole wasn’t covered properly which has lead to a large amount of damp and rotten wood in one of the walls and part of the floor.
The roof is in three section with narrow upright panels that house thin horizontal widows this is called a Mollycroft roof. Recently someone had re-covered this roof in green shed felting and tar which looks awful and was sooo difficult and messy to remove, a good friend Laura helped me remove all this old roofing, which we did in the sun which helped.
Then after this was all removed we pushed Rosie into the barn so the rest of the build can happen undercover!
I’ve come back to the roof a few times because I ended up having to remake all the window frames, which diverted my time a little.
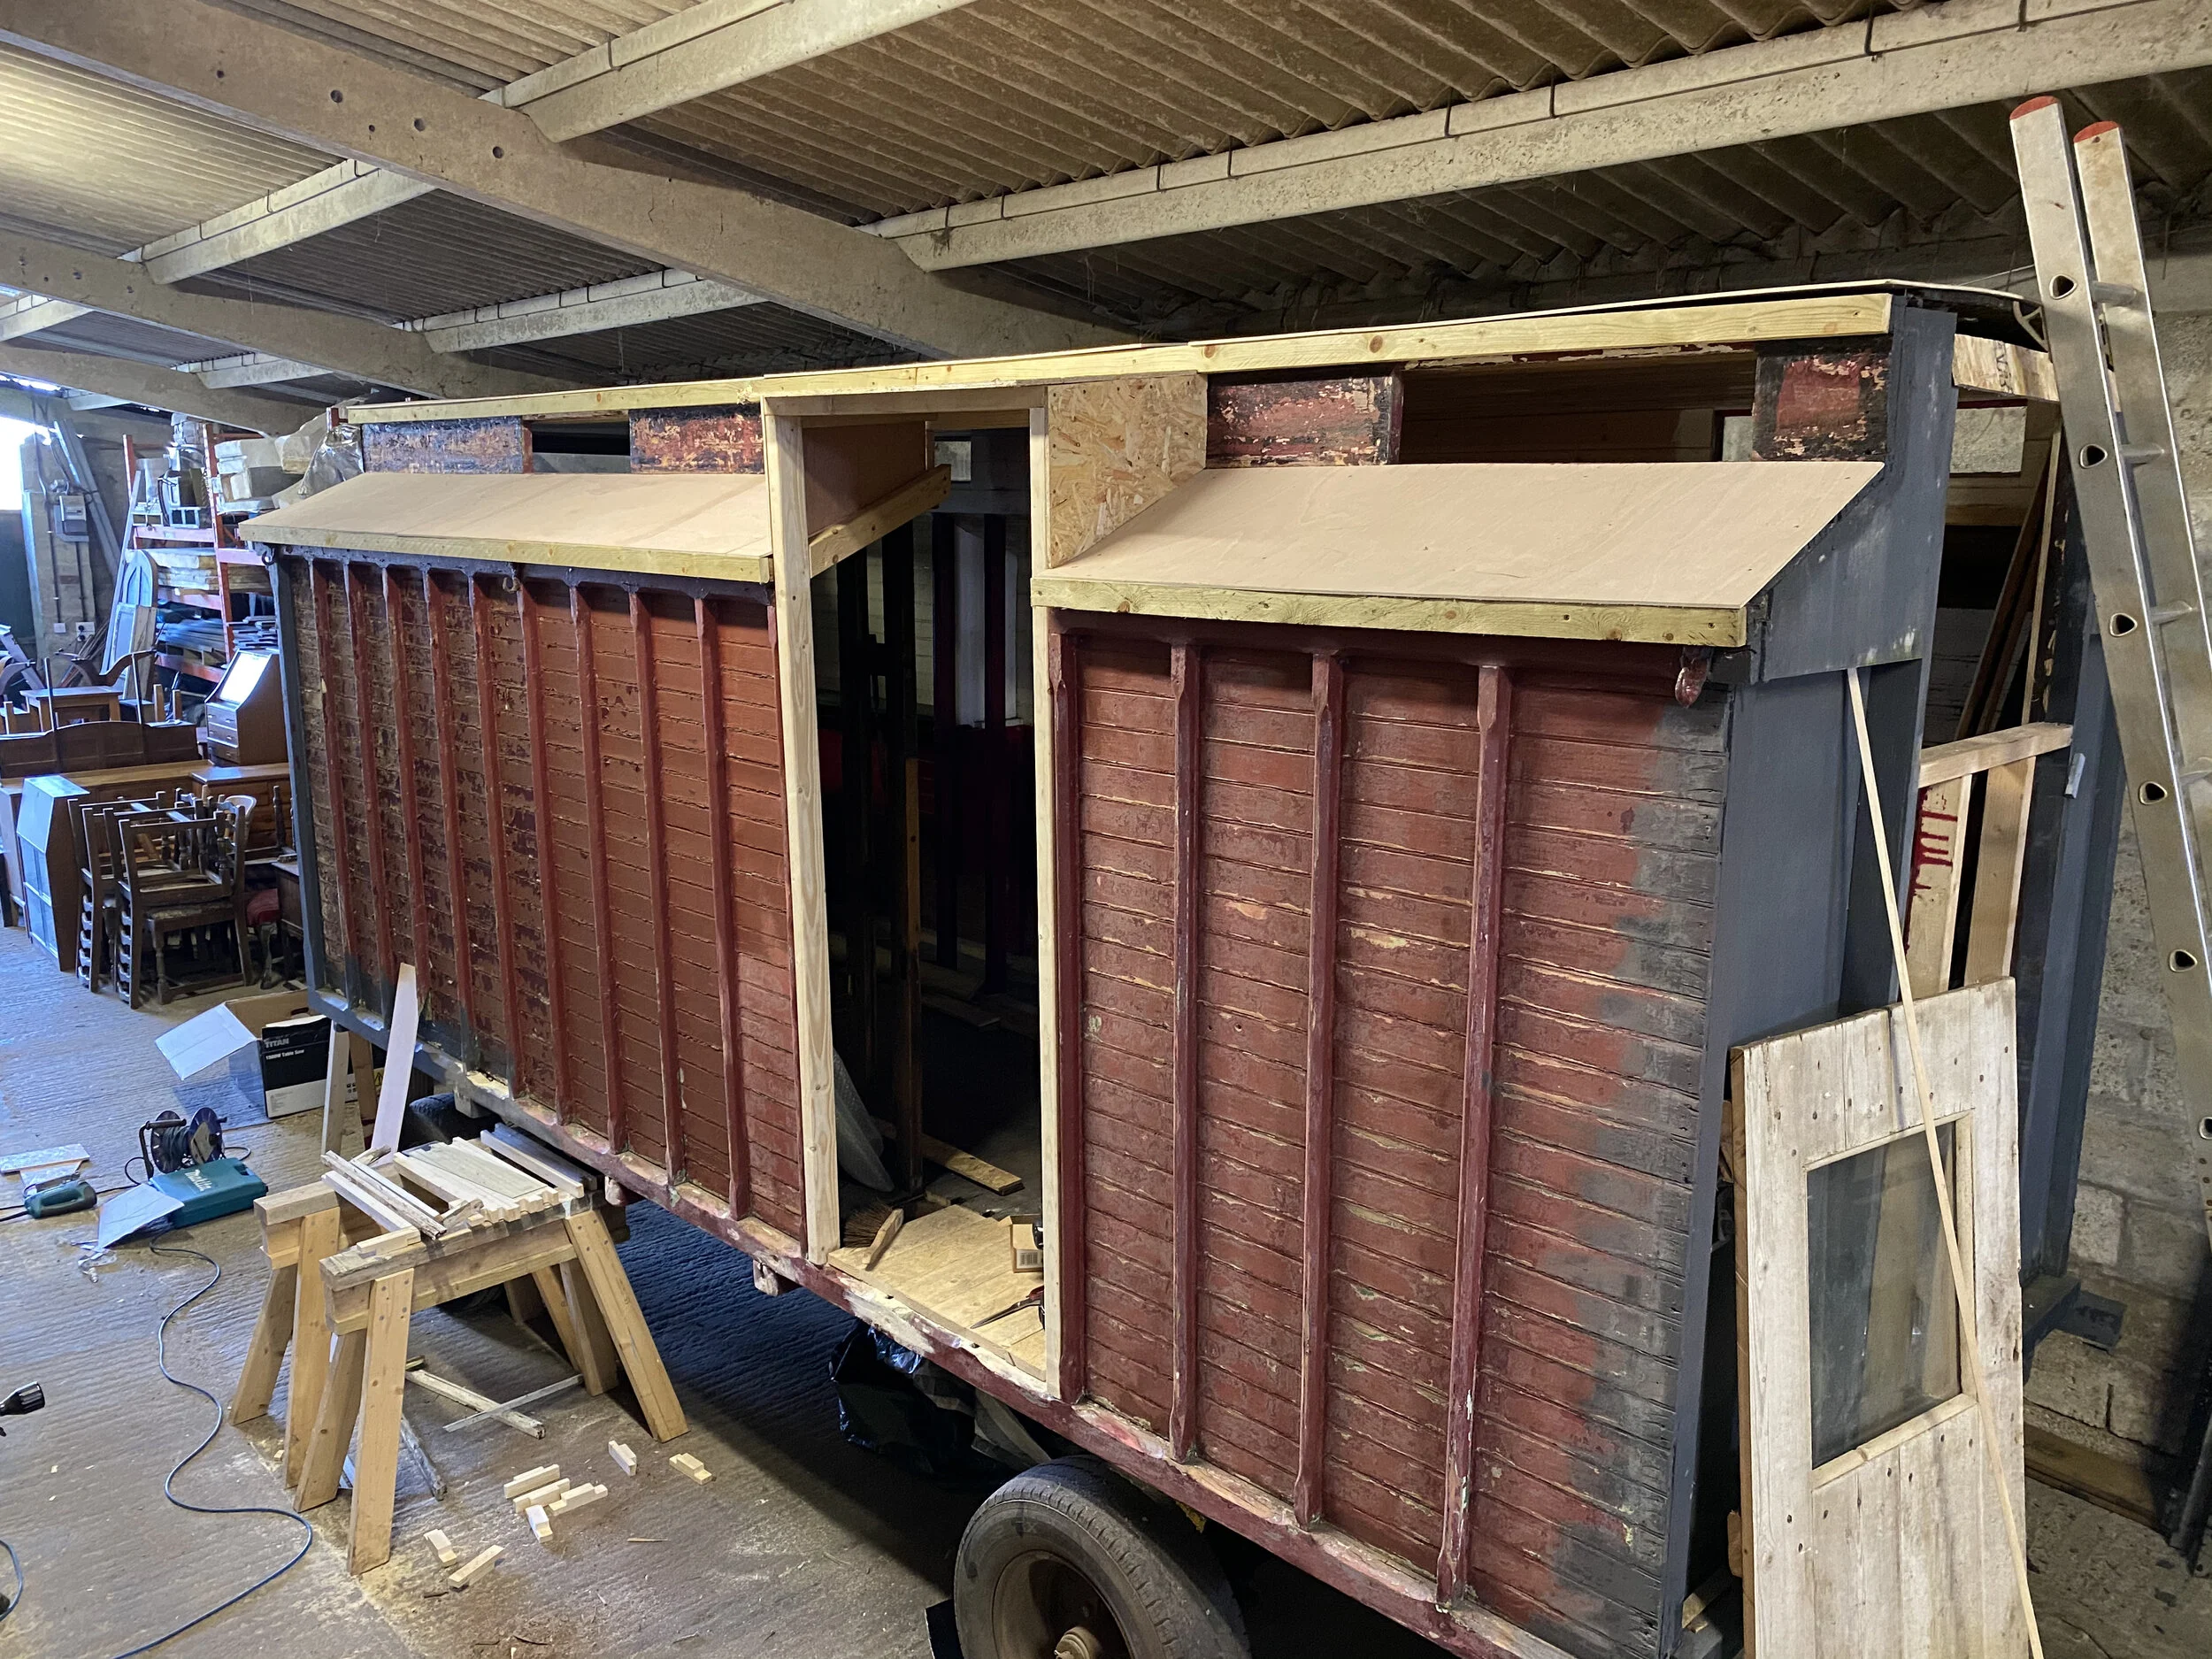
Anyway the next step with the roof was deciding what to recover it with and I have decided to use rubber which is long lasting, durable and “easy” to fit with no seams hopefully limiting the leak options for the future. This rubber roofing has to be laid onto clean wood so I ended up laying ply sheeting over the existing roof slats as well as battening the edges to extend the roof so there is an over hang for rain runoff.
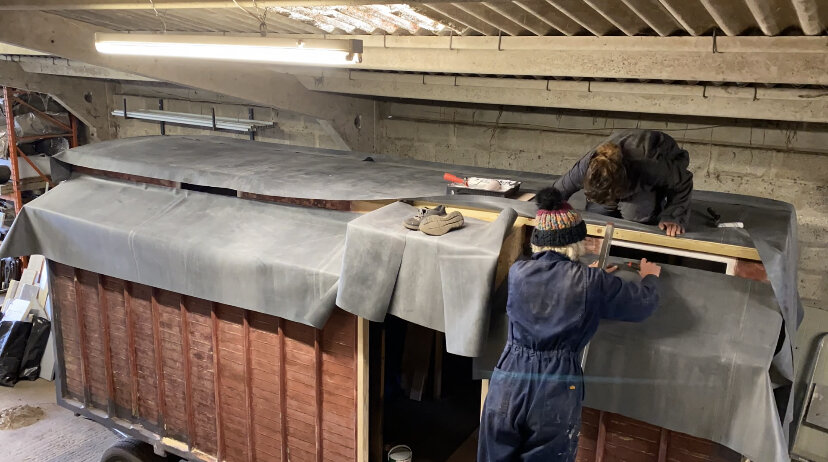
Gem and I then laid the roof which was relatively straight forward, I unrolled and cut to size the material and it comes with a water based adhesive for the main section and a strong contact adhesive to use around the edges.
Sticking and tacking down all the edges was the longest part of this job and very fiddly up ladders on my own but i’m happy with the final result.